These are some of my favorite blue places visited this summer.
Enjoy the view and if you happen to be in the vicinity do drop by these places, you won't regret it.
Enjoy the view and if you happen to be in the vicinity do drop by these places, you won't regret it.

Even if you are not a hiking fan, do take the Lover's Pathway, it's an easy squeezy walk with a breathtaking view.

Don't forget to hang your love lock on the railing if you want to keep your love (r) for ever :-)

Then take a boat to other villages for more bellas vistas from the ocean.

And for a taste of the Italian Riviera which is more on par with its French counterpart head to Portofino where you will find magnificent yatches, great restaurants, shops and art galleries.
Have a gelato pause in the piazza ... which as you can see is not yet invaded by the summer mob in early June.

Can you tell what this next photo says about Guy de Maupassant ?

Apparently Portofino was his favorite spot to dock his yacht "Bel Ami".
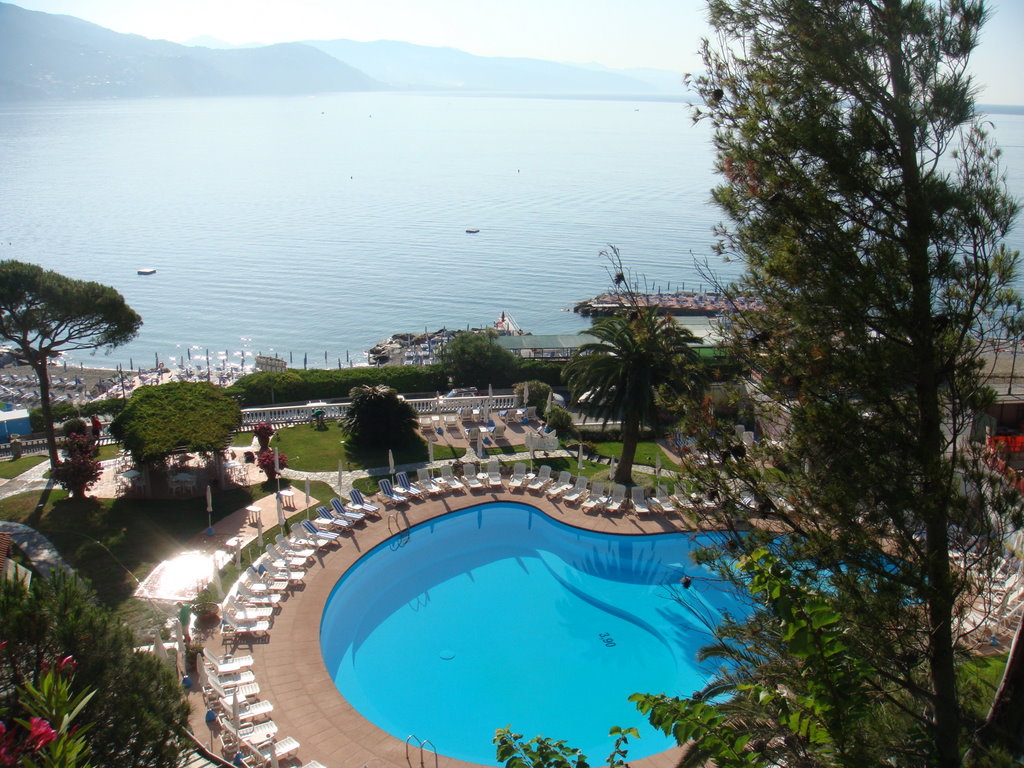
And if you are looking for a place to stay, I recommend the Grand Hotel Miramar in Santa Margherita for its gorgeous garden, salt water pool, beach and top-notch services. Don't miss the garden path that winds its way up among flowering banana trees (yes banana trees) and masses of hydreangeas to this breathtaking vista:
Traveling eastward, my next favorite blue place in Italy: Sirmonie on lake Guardia. You can read all about this little historic town here

We didn't stay at the Hotel Sirmonie but did take a sneak preview and it's very nice, smack in town and on the lake.

There are lots and lots of gelataria and of course gift shops to browse in Sirmonie.

If you are in this part of Italy in June-August, you've got to stop by Verona - which is a mere 20' drive away - for the Summer Opera Festival. Make sure it's at a later part of your trip, i.e. you are well over your jet lag, because the opera runs pretty late into the night and you don't want to ZZZZ off before the fat lady sings :-)

If you are not an opera fan, there are plenty of shopping, more gelato (yesss) and kung-fu-gladiator fighting to keep you entertained.

Then another short trip east and you'll arrive at my last favorite blue place in northern Italy: Venice. I love Venice most at Carnivale time - end of January, beginning of February. But early June turned out to be beautiful and the blue gondolas just lovely, don't you think?

As reported by a surface scratching tourist (you'll see what I mean if you read this )
